Edit Images from Videos like a PRO – Using Video Capture Software?
Many video enthusiasts around the world use this form of editing in making documentaries. They also use this to create contact sheets for photo documentaries. Using captured images from videos takes a lot of effort in improving the quality, especially if you are shooting rapid shots that makes the image blur, nonetheless, it also depends on the quality of the video. Using the best HD Camcorders out there gives you an edge on this one.
I’m going to give you an idea on how to pull-out your video and capture those images, edit them in photoshop or other free photo editing tools, giving them the realistic feel edited like a PRO. There are several steps involved in making the best pictures out of your videos,. Adjust the brightness, contrast, color, masking, cloning tool, crop, etc. Editing like Pro’s requires best practice and full-time dedication, or just do it as a hobby to edit images, that even works well.
We are going to use the Fast Video Indexer as our Video Capture Software program, and use Aviary as our free editing tool.
Let’s go straight to the tutorial shall we,
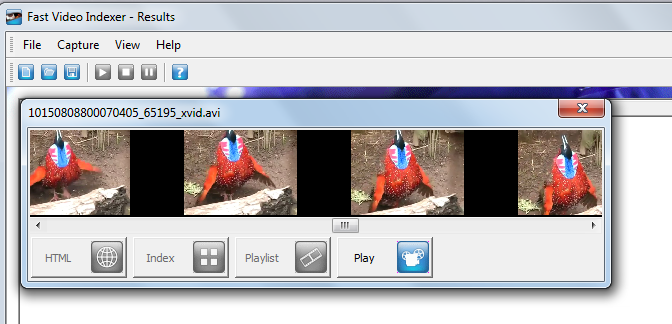
Use the Fast Video Indexer, browse through your captured images from your video. Choose the ones you want and make them for editing. If you don’t know how to use the FVI, you can see my other blog “How to Index your Videos using Video Capture Software”. Check out my other related articles listed below.
Using Fast Video indexer and Aviary
 Index the video, choose from the frames that you want to edit, Upload the photo to Aviary Photo Editor, start editing.
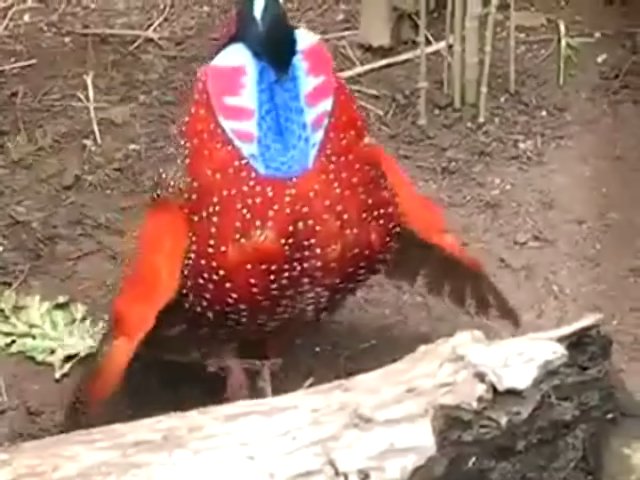
I pick this frame right here ready for editing. The image is kinda blurry and out of focus so we will try to fix that.
Sharpen the image to give it a little focus, sharpening makes the pixels look steady and makes the picture a little bit clear.
Editing the brightness gives life to the image, because the image here is a bit dull. However, it’s your choice on how you like it.
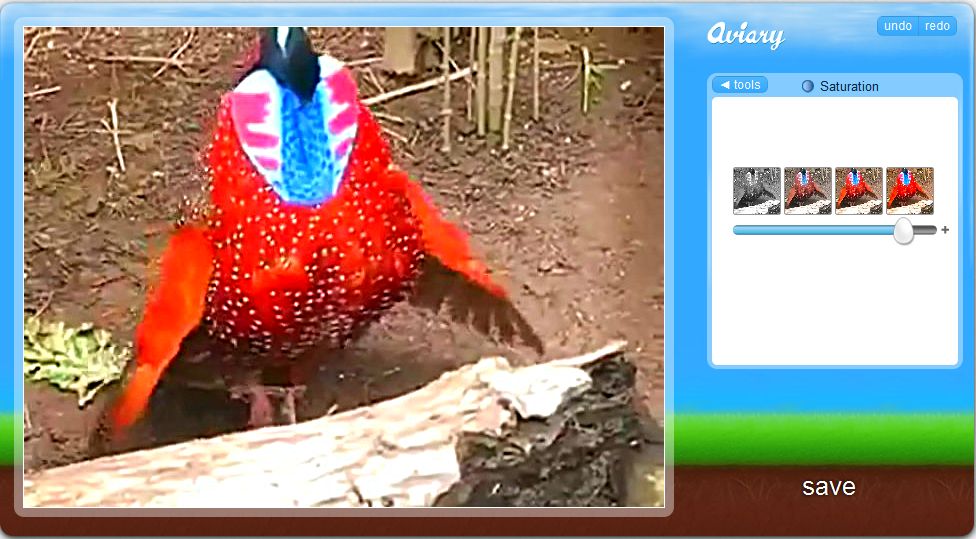
Then we could use the saturation tool to fix the RGB colors of the image to make it more lively, using the colors to blend in with the natural surroundings.
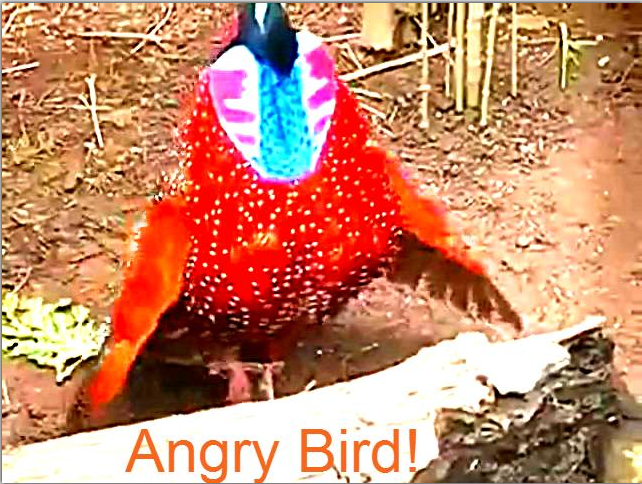
You can show of with a little text, put captions on the image itself, or just leave it the way it is. The image is more lively now — I think I over did it a little bit, if you think its ready click SAVE. The aviary directs you to another window that has a sharing tool that you can easily embed your image, share, or post it to any pages from you site.
Now lets compare!
Theses are the effects of our edited image taken from the video, the one from the top is dull, while the one from the right has more vivid colors and brightness. Comparing the differences between them, the edited image looks more nicer and has quality, more likely to be taken by a camera rather than a video.
Aviary is only a simple photo editing tool, if you want a more valued picture you can resort to adobe’s photoshop software that has more tools, brushes and features that you could edit your image with. Aviary on the other hand is faster and you can readily upload your picture in a matter of minutes, edit, share, and post them to your pages.
There are other free editing tools on the internet, some have more tools and features, and can store pictures on your account giving you the convenience to edit it anywhere on the net.
Related articles
- How to Make a Slideshow with a Video Capture Software?
- How to Index your videos using Video Capture Software?
- 5 Cool Things you can do with your Videos on a Video Capture Software?
- A Free Editing Tool for your Music and Videos
- Video Files and Convert it to any Format


